To use the Divi Timeline module on your WordPress site, edit the page with Divi or create a new page. In the module section, search for “Cool Timeline.”
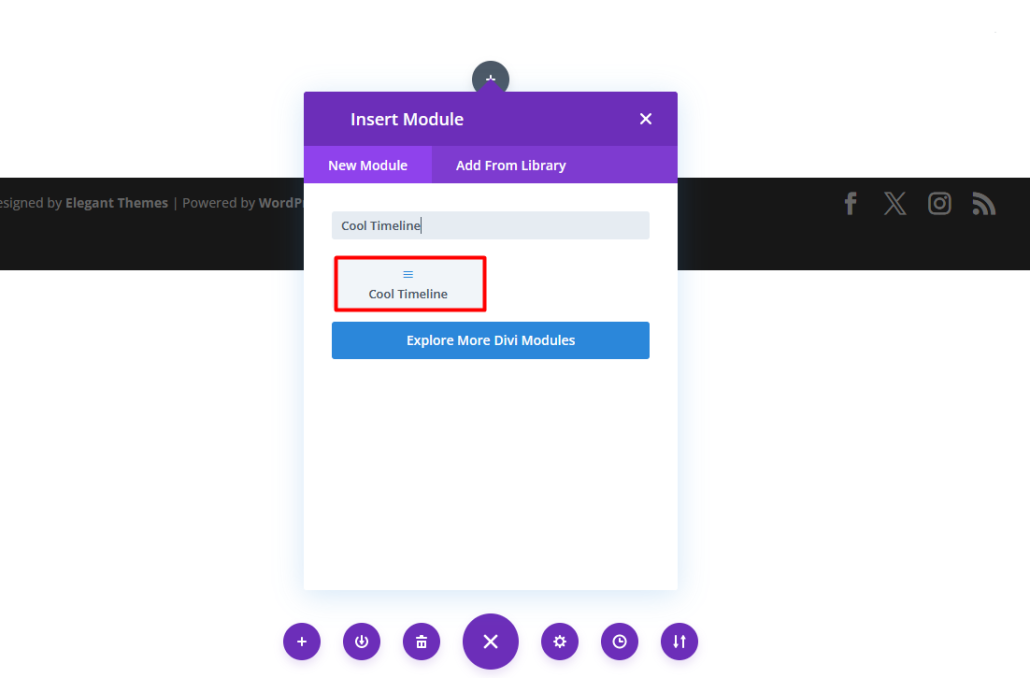
Click on the “Add New Story” button.
- Display Label / Year : Add year label for your timeline story.
- Label / Date : You can add date label for story.
- Sub Label : Sub label for your timeline story.
- Display Story Icon : Choose between multiple icons for your timeline story (by default is a dot).
- Story Title : Set story title.
- Upload: Set image for timeline story.
- Upload: Set image for timeline story (You can also add alt text for the media).
- Content : Add description content for you story.
Story advance settings.

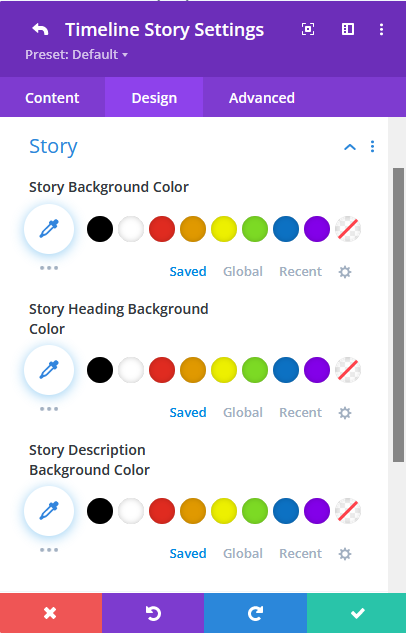
Story : In the story section you can change the story background color, story heading color and story description color.
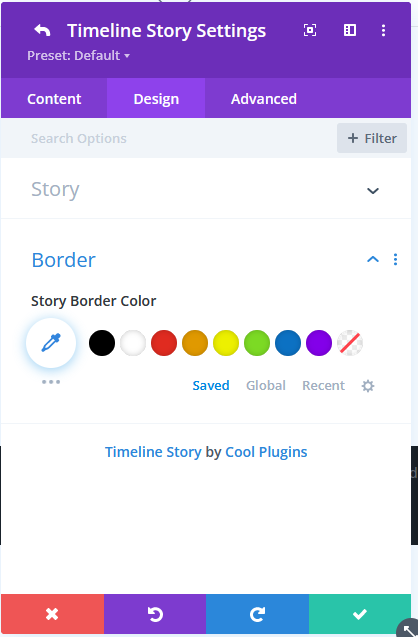
Border : Set the color for you story background.