To translate your website via Google Chrome AI using the AI Translation for Polylang, please follow these steps:
Installation and Activation
- Install and activate the Polylang plugin and the AI Translation for Polylang on your WordPress website.
- Navigate to the Pages section. Edit the page you want to translate.
- On the right side of the page editor, there is a Languages settings tab.
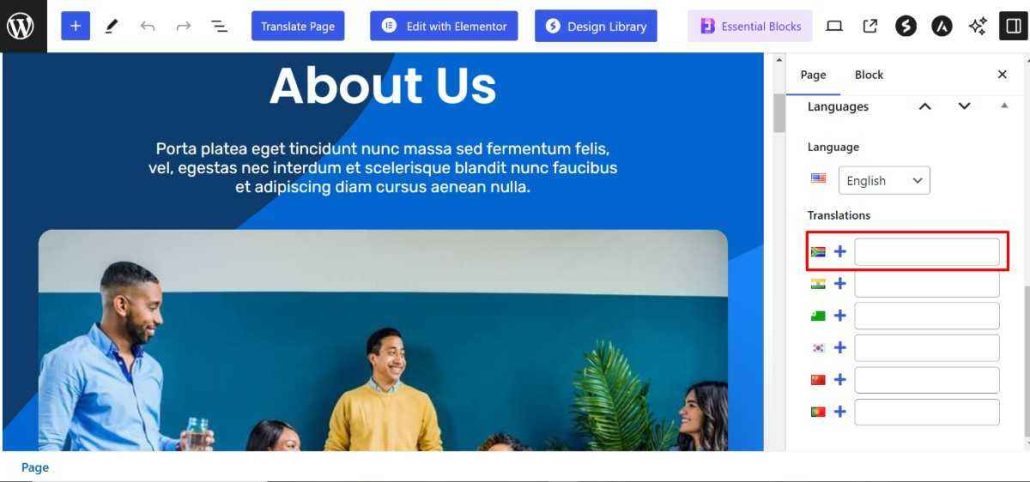
- Under Translations, click the “+” icon.
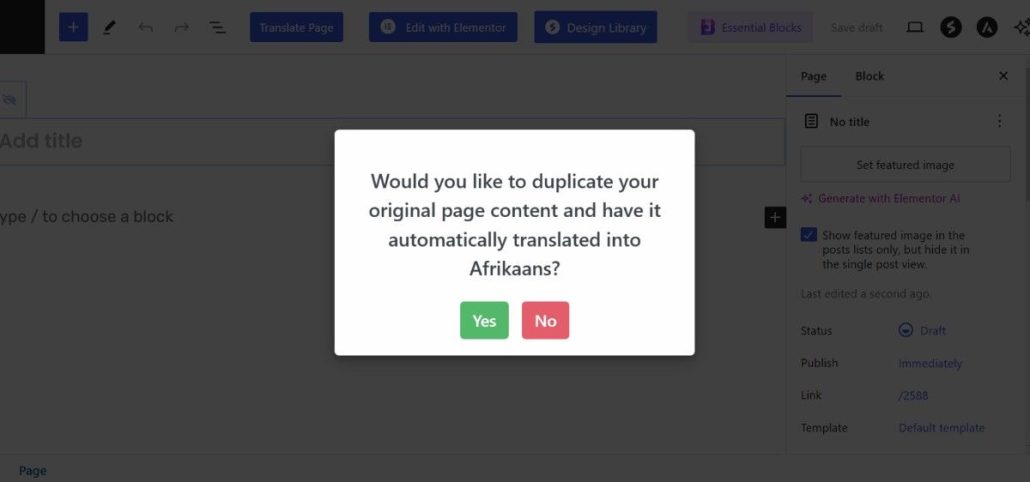
- A prompt will appear asking if you want to duplicate the original page content. Select “Yes”.
Translating the Page Content
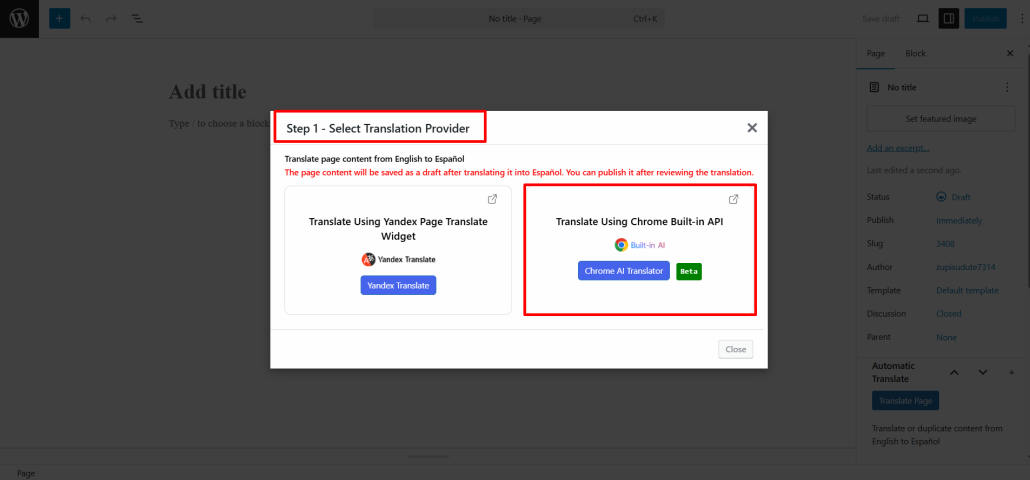
- Next, a new box titled Select Translation Provider will appear; choose Chrome AI Translator as your translation provider.
Alternatively, you can:
- Go to the settings tab and select the Automatic Translation tab.
- Click on Translate Content, and a pop-up box will ask you to select a translation provider. Select Chrome AI Translator.
- Once selected, a tab containing both the source text and translation text will appear.
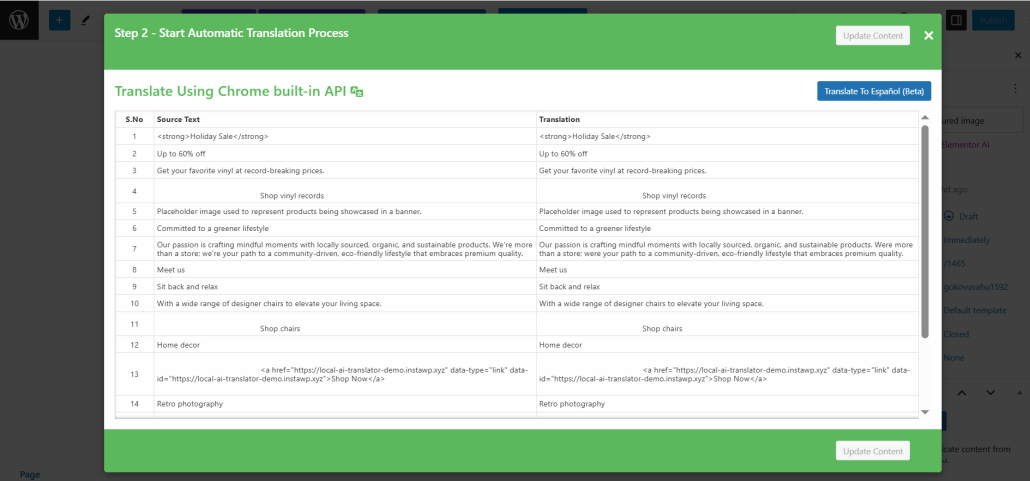
- Click Translate. The translation process will begin, and wait for a few minutes.
Update Translation
- After the translation completes, click Update Content.
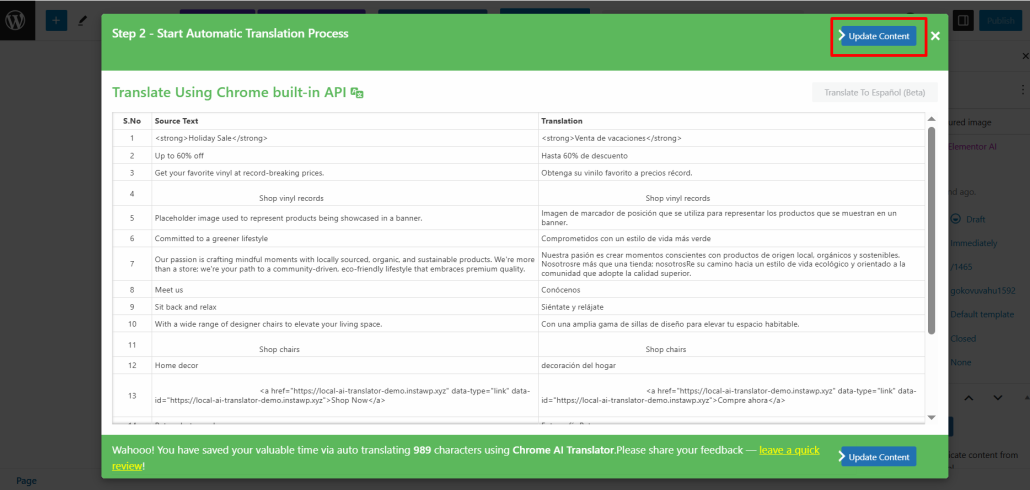
- All content of the website will be translated into a selected language in a single click, now preview it and make manual edits to adjust translations for better accuracy.
That’s it! You have successfully translated your Webpage via Chrome’s built-in AI using the AI Translation for Polylang.
Note: If you want to use Google, Gemini, Open AI, or Open Router Model through the AI Translation for Polylang and want to translate Classic editor pages, you will need to purchase the pro version of the addon.