What is Conditional Logic
Conditional logic is a way to control what happens next based on certain conditions. It works like this: “If a certain condition is true, then do something specific.”
For example, in an online form, you can show or hide fields depending on the user’s previous answers. If someone selects “Yes” to a question, additional related fields might appear. If they choose “No,” those fields stay hidden. This means the form adapts to the user’s responses, making it simpler and more relevant.
Enable Conditions
You can easily add conditions to the form inside your Elementor pages. Just follow these simple steps:-
* Firstly, make sure you have “Turned on“ the Conditional Logic for Elementor form in the WordPress Admin Panel >> Elementor >> Cool FormKit >> Form Elements Tab.
- Search “Form” inside the Elementor widgets section.
- It will create a form with the three default fields.
- Click on the field where you want to apply the condition.
- Navigate to the Conditions tab inside the field settings.
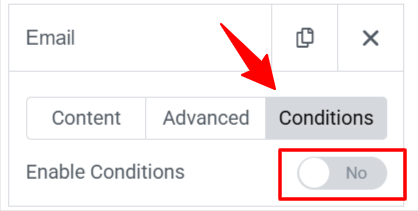
- Toggle the “Enable Conditions” switch to ON.
Show/Hide Fields Based on User Input
After enabling conditions, decide what should happen:

- Choose whether you want to show or hide the field based on a user’s answer. Set up the logic like: Show this field if [Field ID] equals “Yes” or Hide this field if [Field ID] equals “No”
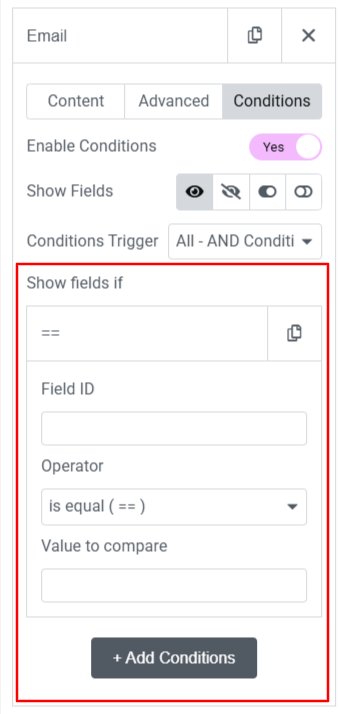
- Next, choose a comparison operator to define how the field’s value should be checked, like Equals, Not Equals, Contains, etc.
Using AND & OR Logic
- You can create more complex rules using:
- AND Logic means all conditions must be true for the action to take place.
- OR Logic means that any one condition can be true for the action to happen.