After activation of Timeline Builder Pro, you will find a Timeline Addons tab inside your WP Dashboard menu items.
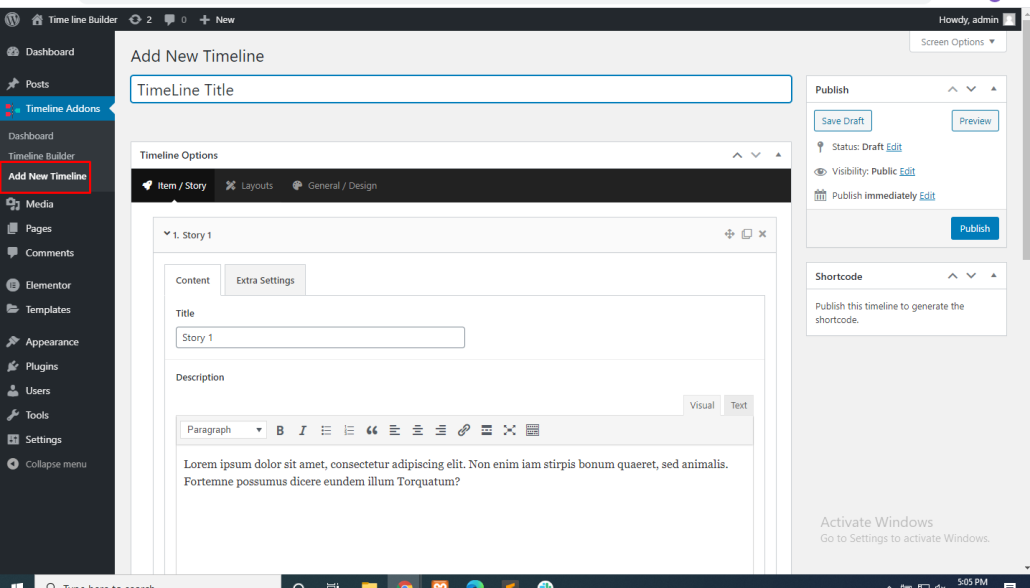
Go to Timeline Addons > Add New Timeline. All the timeline stories/items can be added from this page.
A new timeline is created with some default stories. You can edit these stories or delete them to add your own.
Check the screenshot below for a better understanding.
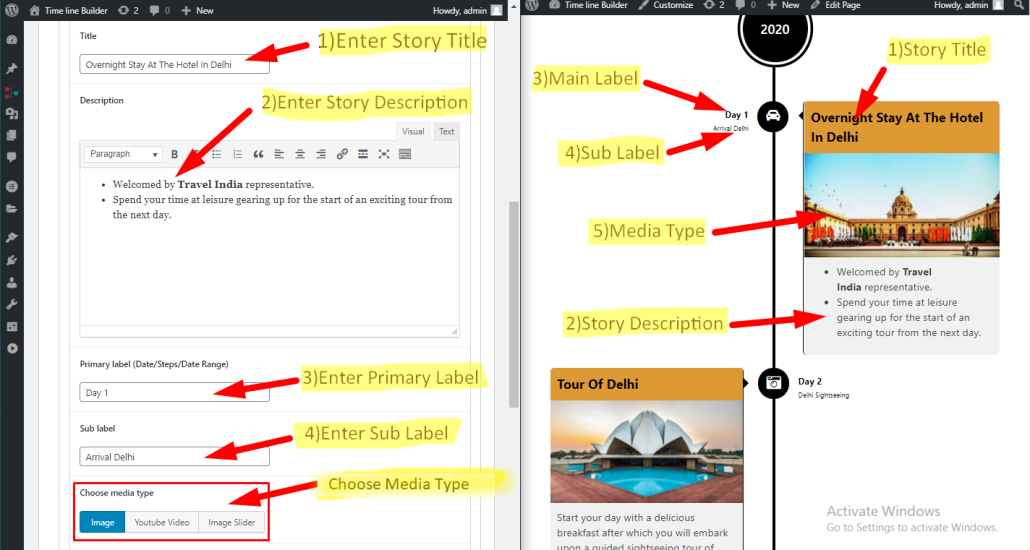
Timeline Stories Settings
Please go through the screenshot below to understand the settings in timeline items/stories. The screenshot at the left side is a WordPress backend of timeline item settings and the screenshot at the right side is pointing towards the fields manipulated by those settings in the timeline item.
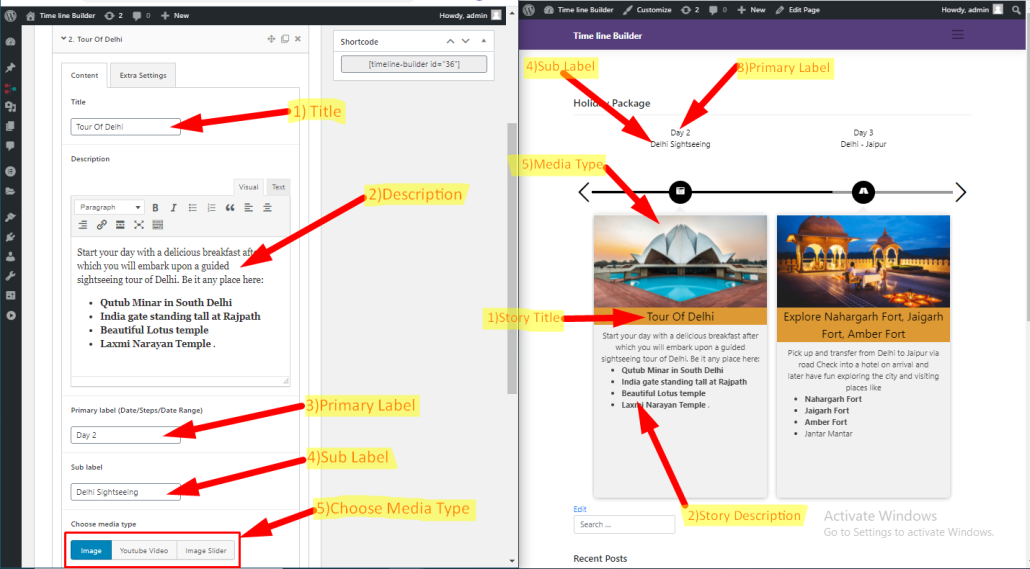
Timeline Settings (Horizontal layout)
All the timeline item settings work for all layouts and designs but the horizontal layout is quite different. Lets have a quick look at horizontal layout and it’s settings fields in the timeline items.
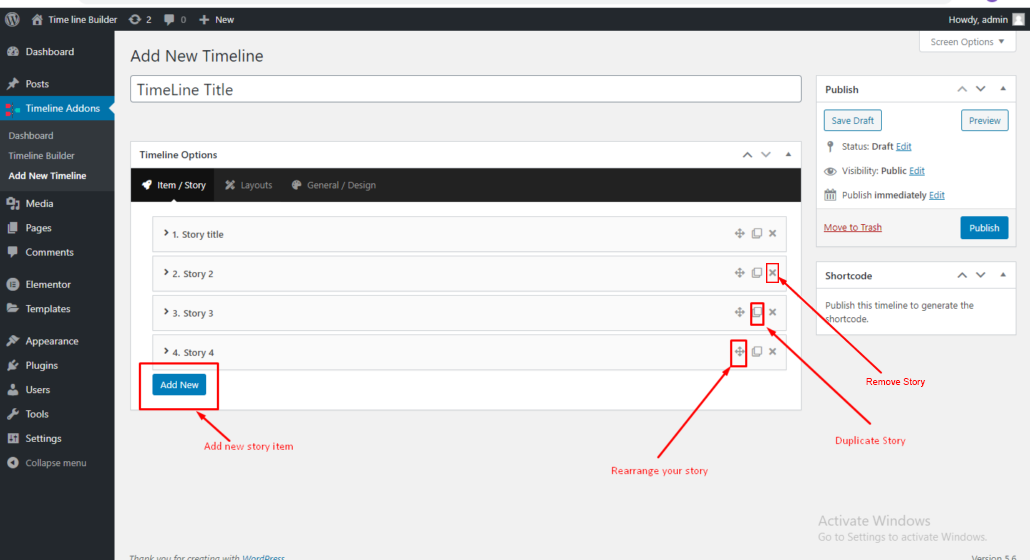
Add new, Duplicate, Rearrange Story:-
The Timeline Builder page has several buttons to make a few tasks a lot easier. Like there is a button to add a new story or remove the existing stories. It is also possible to duplicate any existing story or just reorder/rearrange all the stories as required with a single button click.