Skip to content
-
Home
-
Timeline Builder
- Installation
- Download Plugin From Official Website
- After you purchase the Timeline builder Pro from our official website, download the plugin zip.
- You will also receive a confirmation email with your license/purchase key.
- Please make sure you provide a valid email id while purchasing the plugin as you need the license key for activating the pro feature of the plugin.
Install via WordPress Admin (best plugin installation method)
- Log in to WordPress Admin.
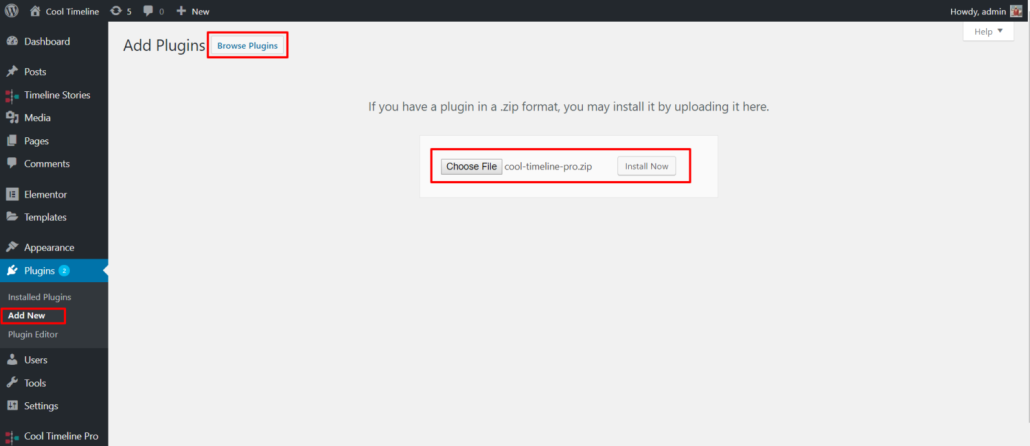
- In the left menu panel go to Plugins >> Add New >> Upload to install the plugin.
- Click Upload.
- Browse the download plugin file in your system (Timeline-Builder-pro.zip) and select for upload in the upload dialogue box.
- Click Install Now & then activate the plugin after installation.
Install via FTP Account
- Use your FTP software to browse to wp-content/plugins folder to install the plugin.
- Extract the main plugin zip file to their corresponding folders, i.e timeline-builder-pro.zip to timeline-builder-pro and upload to server.
- Once it’s uploaded, go to your WordPress Admin, browse to Plugins >> Installed Plugins.
- Click the Activate link under the plugin name.